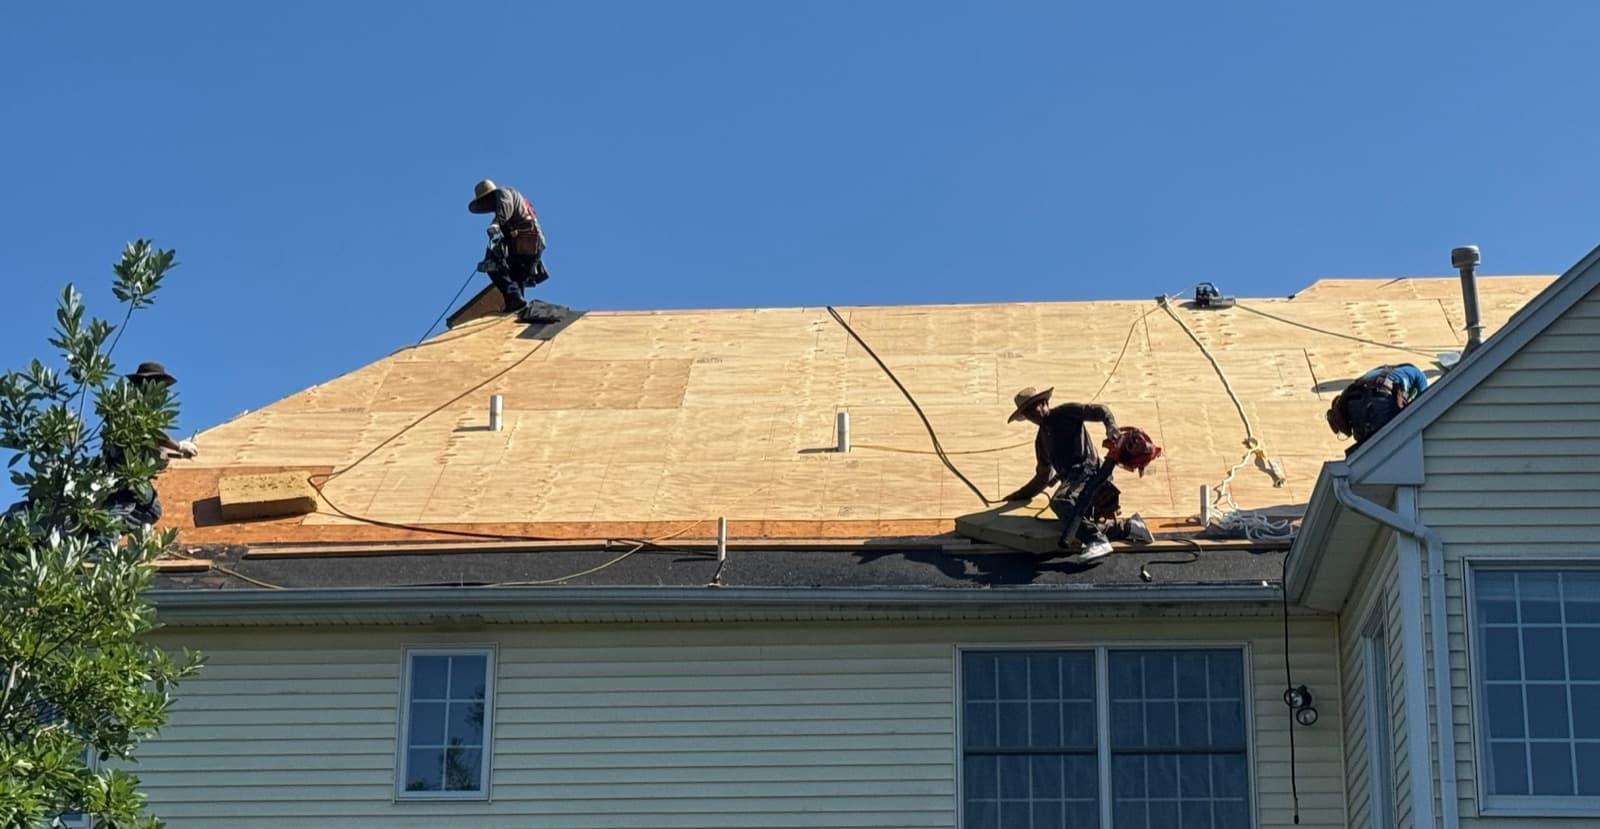
Water travels. A leak that starts at a roof-to-wall flashing lands on the underside of the deck, runs downhill along the sheathing or a rafter, gets onto the flat top plate of an exterior wall, and drops into the first cavity it finds — which, more often than any other opening in the house, is the header over a window. The window is dry and doing its job. The window gets blamed, and sometimes replaced.
It is the misdiagnosis we get called about most, and it is why North Jersey homeowners get bounced between a roofer who blames the window and a window company that blames the roof. Precision does both, out of one shop in Garfield, so we have no thumb on the scale. Below is the diagnostic we'd walk you through on the phone — and it starts with when the water shows up, not where.
When it leaks tells you more than where it leaks
Weather is the highest-signal evidence you have, and unlike a ceiling stain it doesn't lie about location. Every time water appears, note the date, how hard it was raining, which way the wind was blowing, and the temperature. Two or three entries usually narrow it to one trade before anybody sets a ladder.
- Only in wind-driven rain, from one direction — the wall and the window. Rain falling straight down lands on a roof; rain driven sideways is what tests a window's gaskets, its perimeter sealant, and the flashing hidden behind the trim. Leaks in a northeast blow, dry in a still summer downpour: look at that elevation.
- Any heavy rain regardless of wind, worse the longer it rains — the roof. Roof leaks are about volume and duration: enough water, for long enough, to get past a detail and work through the deck.
- Only during or after snow, or in a thaw with no rain falling — ice dam. A roof and attic problem; it gets its own section below.
- Cold weather, no precipitation of any kind — condensation, not a leak. The most expensive misread on this list.
- Muggy stretches with the cooling system running and no rain at all — mechanical water, not weather. Neither trade.
- Water that appears hours after the rain stops — something in the assembly is holding water and letting it out slowly. A real leak, and its entry point is further from the stain than you'd guess.
Where it shows up — read this second, not first
With the timing in hand, location starts to mean something.
- Out in the field of a ceiling, away from any exterior wall — the roof, nearly always. Little else puts water in the middle of a ceiling except a plumbing vent, an attic air handler, or a condensate line, and all three fail the weather test above.
- In the sill track at the bottom of the window, trim and wall dry — the window's own drainage.
- Down the interior casing from the top of the window — something above the window: its head flashing, a wall detail, or the roof. Not the sash.
- Above the window head, spreading sideways along the wall instead of straight down — travel along the top plate. The origin is uphill and outboard of anything visible from inside.
- At the top-floor ceiling-to-wall corner where the roof meets the exterior wall — ice dam or gutter overflow, depending on the season.
Why a roof leak gets blamed on a window
Water that gets past a roof detail does not fall. It meets wood, and wood has a slope, so it tracks that slope — over the sheathing, along a rafter, down the shank of a nail — until something interrupts it, and only then does it drop. Six to eight feet between the entry and the exit is routine here, sometimes more.
The path that produces the window blame is the top plate. Water reaching the top of an exterior wall gets onto the flat framing lumber running along it, and a level surface lets water travel a long way before it falls. It drops into the first stud bay that opens up — and a window opening is a wide, framed interruption in exactly that plane. It exits at the head casing because the header and the casing are the first things blocking the cavity. The window is downstream of everything.
Then there's the kick-out. Wherever the eave end of a sloped roof dies into a vertical sidewall — a garage roof into the house wall, a porch roof, the low corner of a dormer — the last piece of step flashing has to be bent out into a diverter that throws water clear of the wall and into the gutter. That is not an upgrade: R903.2.1 of the 2021 IRC, the code New Jersey has adopted, requires a flashing installed to divert water away from where the eave of a sloped roof intersects a vertical sidewall. When the piece is missing, the whole slope's runoff drops straight down behind the siding. Nothing looks wrong on the roof, nothing looks wrong on the window, and the wall between them is soaked.
That crossover is what makes the two trades one problem, and the code says so in nearly the same words on both sides. R703.4 requires flashing at exterior window and door openings to be applied shingle-fashion and carried out to the exterior wall finish or to the water-resistive barrier behind the cladding, so the water drains. Step flashing at a roof-to-wall junction does the identical job at a bigger scale: hand water down and out, never trap it, never reverse it. Both details fail the same two ways — omitted and caulked over, or lapped backwards into a funnel.
What an actual window leak looks like
Your windows are designed to let some water in. Most vinyl, aluminum, and clad units are drained assemblies, not sealed ones: wind-driven rain is expected to get past the exterior gasket, the sill is built as a shallow pan with weep slots at the outboard bottom edge, and the water is supposed to run back out. That is the key to the window side, because the most common residential window leak isn't a hole. It's a drain.
- Blocked weeps. Painted over, caulked shut by a previous leak repair, or packed with pollen and dirt. Water fills the sill track, and once it's deeper than the interior leg of the frame it pours onto your sill and floor. Tell: heavy rain only, water at the bottom corners, wall and trim dry.
- Failed perimeter sealant. The joint between the frame and the exterior trim or siding. Sealant is a maintenance item with a service life, not a lifetime component, and the sun-beaten elevation goes first. Tell: driven rain on one face of the house, usually with a visibly cracked or pulled-away bead.
- Missing or reverse-lapped sill pan and head flashing. An install defect, and the worst one, because it never improves and caulk never fixes it. Lap the flashing the wrong way and you have built a funnel aimed at the framing. Tell: it has leaked intermittently in driven rain ever since the windows were installed.
- Failed glazing seal at the sash. On older wood units the glazing compound bedding the glass dries out and drops away; on some units the exterior glazing bead seal lets go. Water gets into the sash rather than around the frame.
- Worn weatherstrip and a sash that won't pull tight. Usually a draft complaint, but a badly worn double-hung in a hard rain will pass water at the meeting rail.
- Not the glass. Glass almost never leaks. If your complaint is haze you can't wipe off, that's the next section, and it isn't a leak at all.
When it's neither trade — and you shouldn't be paying either of us
Condensation on the room side of the glass. Water beading on the interior glass and pooling on the sill, in cold weather, with no rain in the picture. That is not a leak: when the interior glass drops below the dew point of the room air, water comes out of the air onto the glass. The cause is too much indoor moisture — a humidifier, long showers, a damp basement, a recently air-sealed house — plus too little ventilation. A better window runs a warmer interior surface and condenses less, but buying windows to solve a humidity problem is an expensive way to not solve it. If we come out and find condensation, we'll tell you to run the bath fan and buy a hygrometer, and there's nothing for us to sell.
Haze or moisture between the panes. A failed insulated glass unit: the perimeter seal let go, the gas fill left, humid air got in, and it condenses inside the sealed cavity. You can't wipe it off either face, and no water is entering your house. Seal life typically runs fifteen to twenty-five years. Where the sash is serviceable and the frame is sound we measure it, build the new unit in our Garfield glass shop, and swap it in — sash and frame stay put. Some factory-sealed sashes can't be opened up, and we'll say so on site. Either way it's a glass job, not a leak.
Attic condensation. Household air that has found its way above the ceiling meets a roof deck sitting at outdoor temperature, gives up its moisture there, and rains it back onto the insulation — indistinguishable from a leak until you check the calendar. It happens in the coldest week of the year, often under a clear sky. Air sealing and balanced intake, not shingles.
Mechanical water. Condensate lines that have silted up, drip pans under attic air handlers that rusted through, ductwork sweating in an unconditioned space, a vent stack, a supply line inside a wall. Timing gives all of them away: they track the cooling season, or they track nothing at all.
Ice dams — and the NJ code claim to distrust
The house warms its own upper roof deck from underneath. Snow lying on that deck melts, the water runs down, and it arrives at the overhang — which covers nothing heated and holds whatever temperature the outside air is at — where it freezes into a ridge. Behind the ridge the meltwater stops moving and stands. Shingles work by lap and gravity and have no answer to standing water, which works back up under the courses and into the house at the top-floor ceiling-to-wall corner. When it gets into the wall instead of the ceiling, it surfaces at the head of a top-floor window. That is the third route by which a roof problem gets called a window problem.
Here is where you should stop trusting your roofer. Ask about ice-and-water shield in Bergen or Passaic and you will almost certainly be told the code requires it. It does not. New Jersey's threshold is a January average of 25°F or colder, and DCA Bulletin 07-3 already answers where in this state that lands: Sussex County, and nowhere else. Everything we work in falls outside it. The claim keeps getting made because the model code says nothing about temperature at all — it ties the barrier to whether an area has a history of eave icing — so a contractor half-remembering one document and half-remembering the other arrives at a confident wrong answer. Our roof replacement page carries the citations if you want them.
So the membrane goes on our re-roofs by choice rather than by rule, and it belongs on your contract as a line you agreed to instead of a mandate you were handed. Be clear about what it buys, though. It has no effect on whether a dam forms — the attic decides that. All it decides is whether the dam ends up on your ceiling.
The first pass you can run yourself, in order
Start low, move up, change one variable at a time — the same isolation logic behind a formal water test.
- Log two or three events — date, rain intensity, wind direction, temperature.
- Open the window and look into the sill track. Standing water there with dry trim and dry wall means drainage, not the roof.
- Test the weeps. From outside, pour a cup of water into the sill track and watch the slots at the bottom of the exterior face. Nothing out within a few seconds means they're blocked; a stiff wire usually clears them.
- Establish whether water arrives at the head or rises from the sill. Down the interior casing from the top means look above the window.
- Get into the attic with a good light, during or just after rain if you can, and work uphill rather than looking straight up. Where the wet trail ends, the entry is just above it. That is a discipline of its own — our page on finding a roof leak walks it properly.
- Run a hose test bottom-up, with someone watching inside: the wall below the window, then the sill, jambs, head, the wall above, then the roof edge — five minutes each with a wait between. The zone that reproduces the leak is your answer. Order is the whole point: start at the roof and you'll wet everything below it and learn nothing.
- Don't walk the roof. Every step above works from the ground, a stable ladder at the eave, or inside.
What each side checks when we get there
On the roof we spend almost no time in the open shingle field. That part of a roof is doing exactly what it was built to do, and it very rarely fails. We go to the interruptions: step and counter flashing at walls and chimneys, kick-outs where an eave dies into a sidewall, valleys, pipe boots (the collars go brittle and split at roughly ten to fifteen years), nail pops and their rust trails, and the drip edge. At a chimney we measure across the slope: past 30 inches, IRC R903.2.2 wants a cricket on the uphill side, and on older North Jersey houses there frequently isn't one.
On the window side: perimeter sealant condition, whether the weeps are open, the lap direction of the sill pan and head flashing wherever they're visible, the glazing seal, and the rough sill under the unit — including, on an insert replacement, whether somebody set a new window into an opening with a rotted sill and trimmed over the problem.
That's why we look up before we quote a window. A window replaced under a leaking wall is a window that leaks. If the water comes from above, a new unit buys you a better-looking leak.
Bottom line
Sideways rain from one direction, sill track wet before the wall is: start with the window. Any heavy rain, or a stain out in the field of a ceiling, or water only after snow: start with the roof. Cold weather with no rain at all: don't call anybody yet — buy a hygrometer and run the bath fan for two weeks.
If the answer turns out to be neither, you'll hear that from us on the first visit rather than after a window is on order. We diagnose on site at no charge, Bergen through Hudson, out of the Garfield shop — and because both trades work out of the same building, you get both sets of eyes on one ladder instead of two appointments and two opinions. (201) 275-9185, NJHIC #13VH13970900.